Painting guns. The M1897 3.2-inch field gun
Javier Gómez "El Mercenario"
1898 Miniaturas

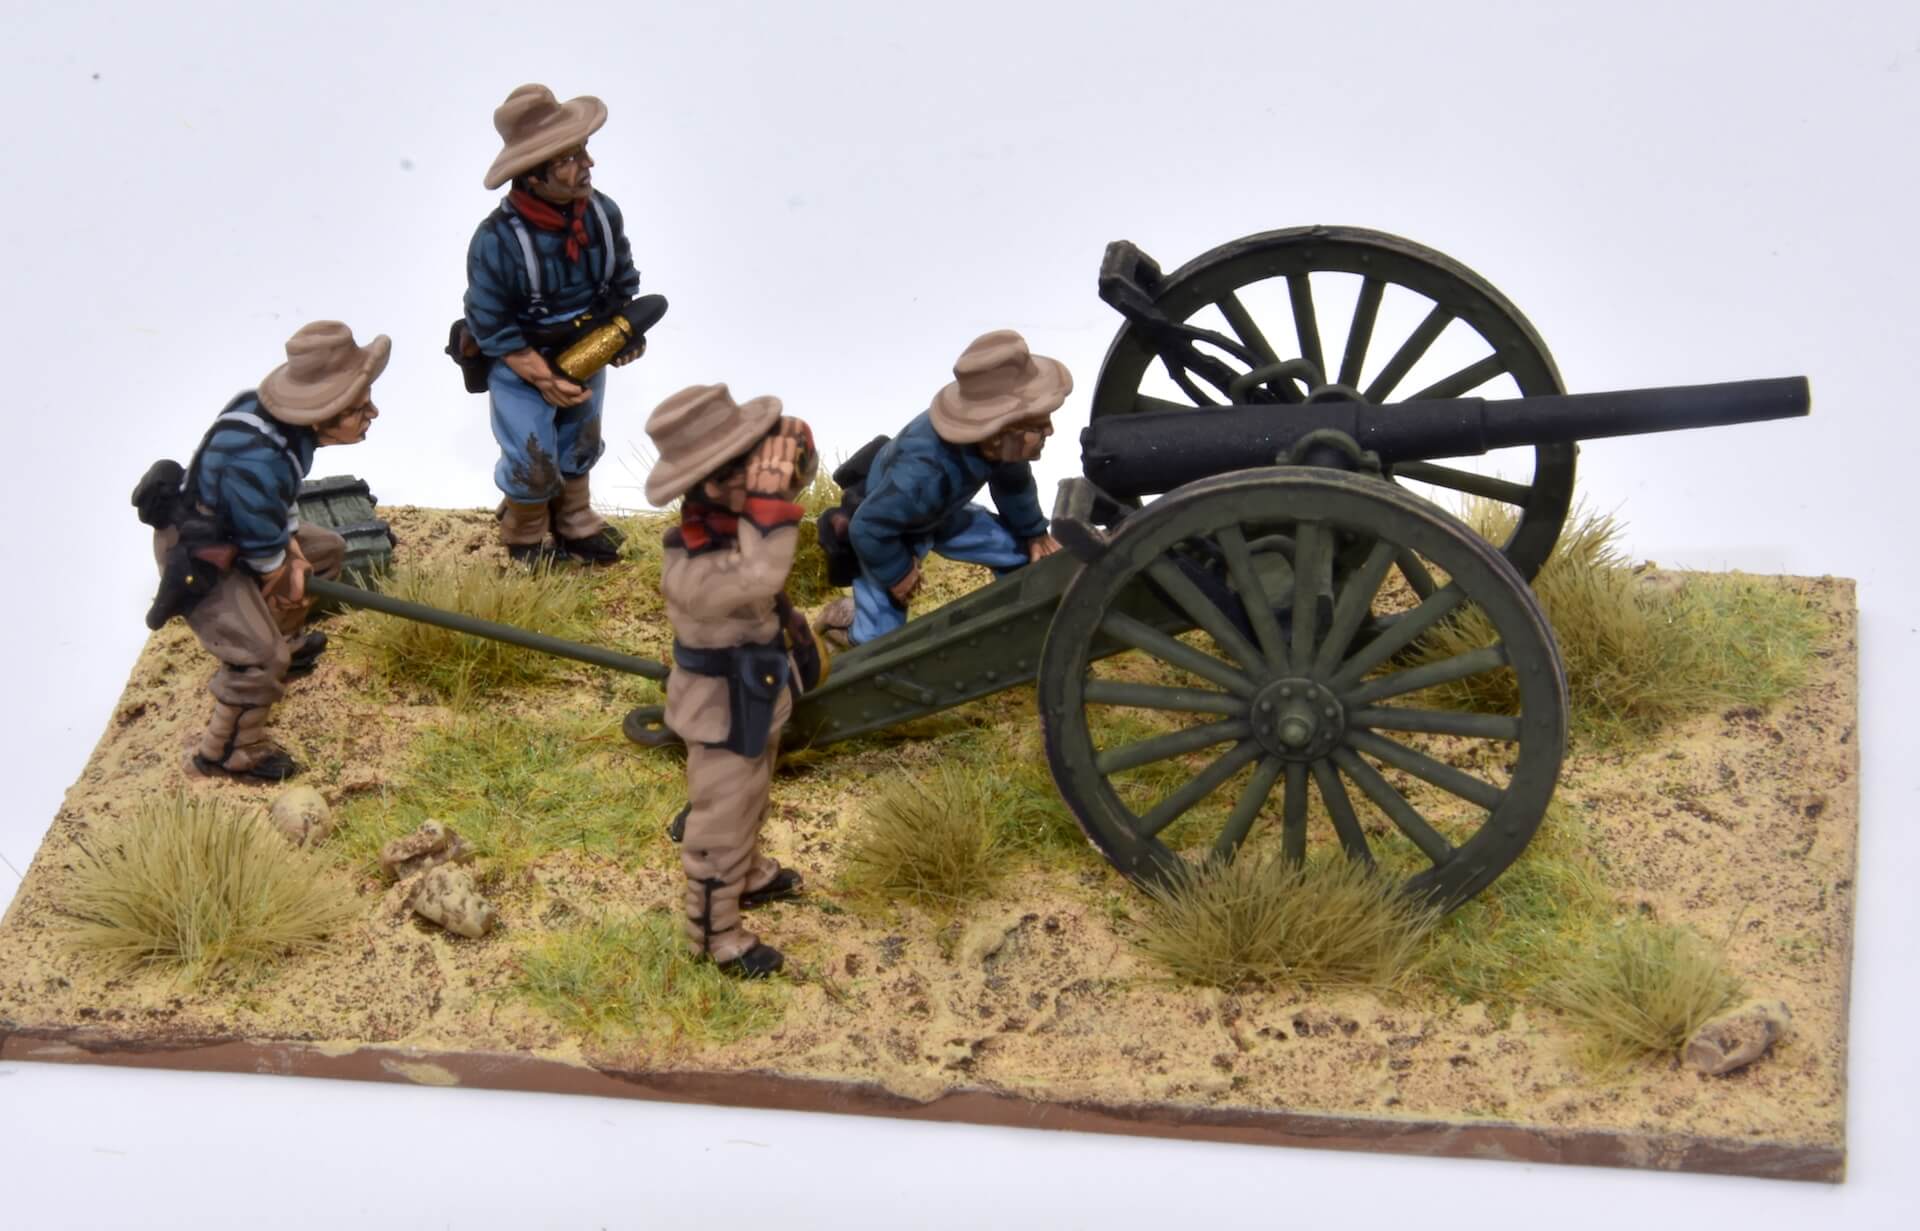
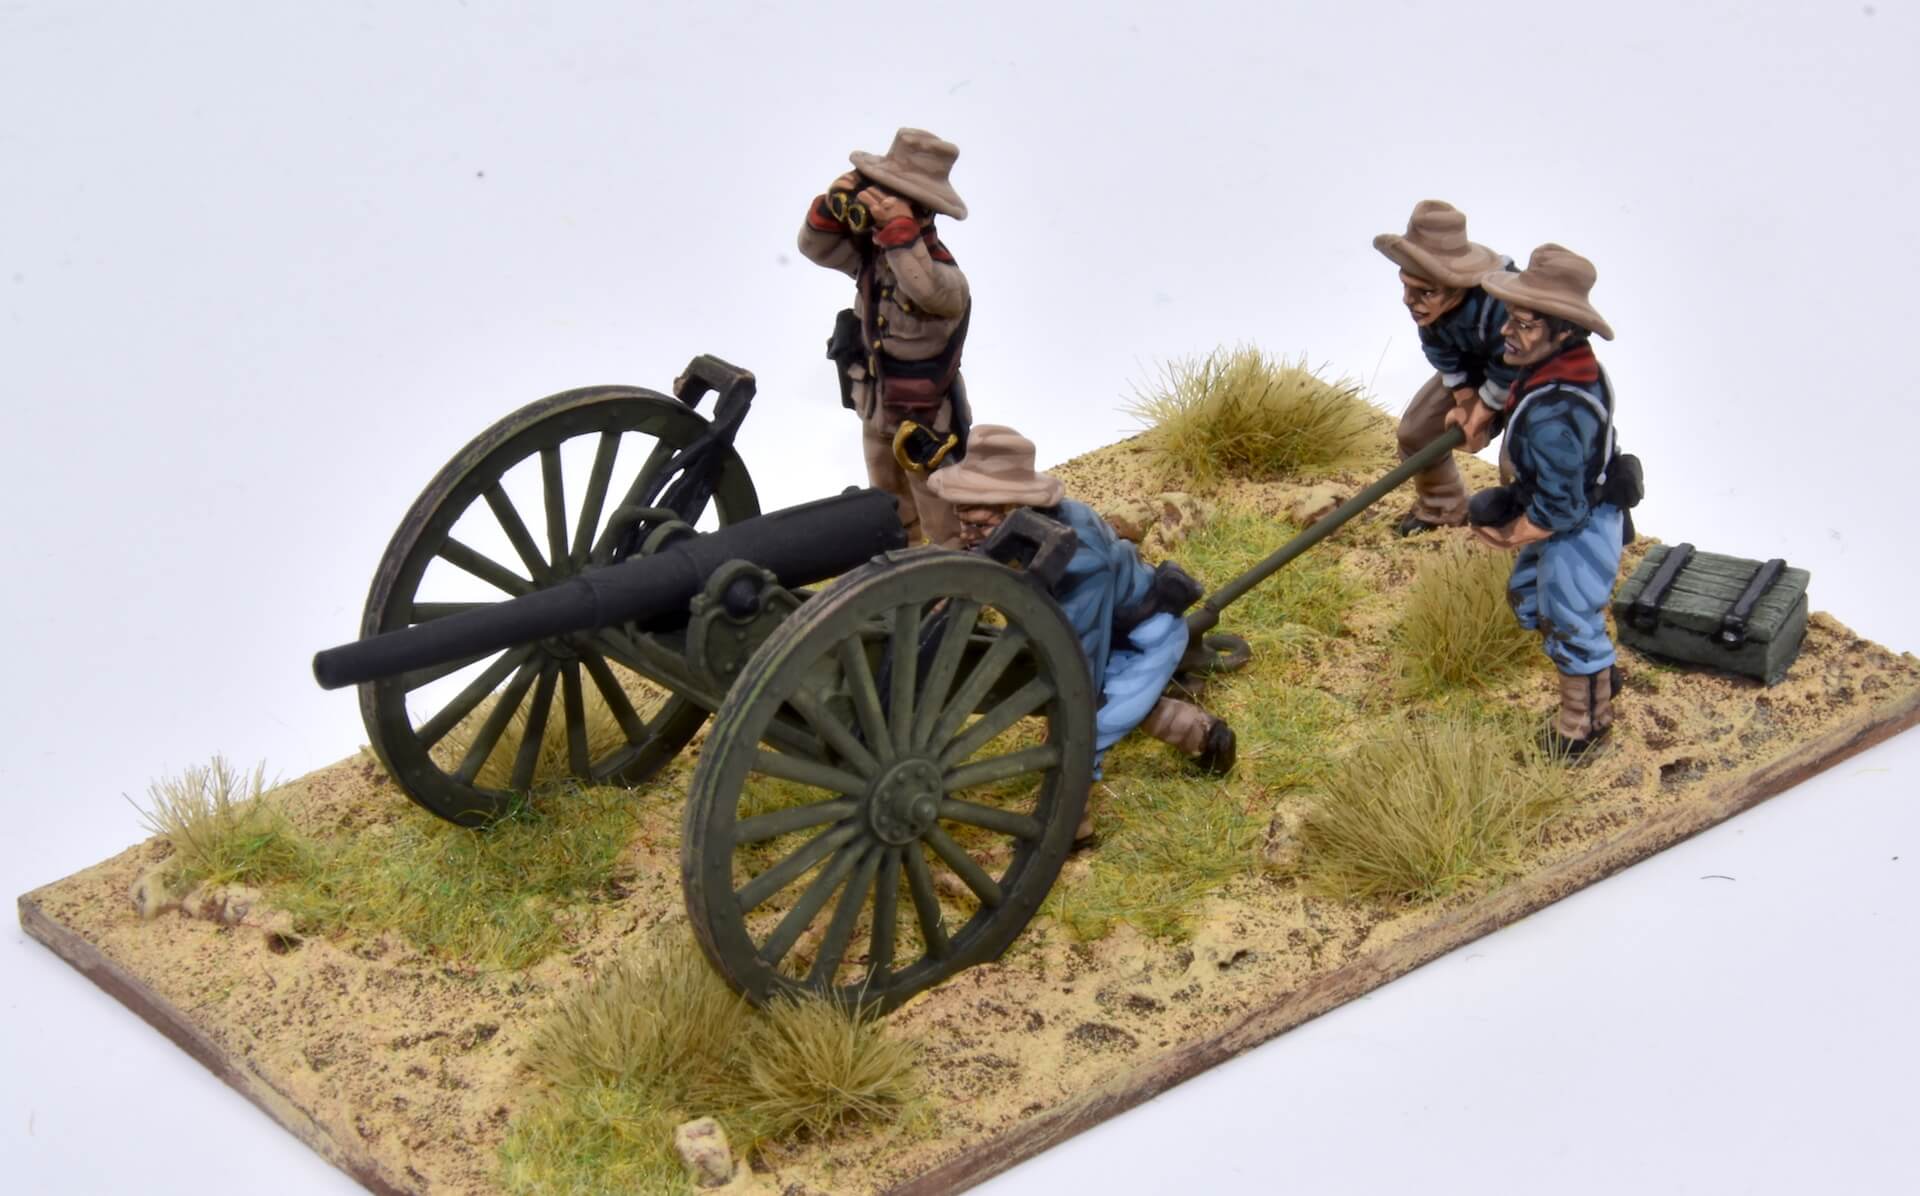
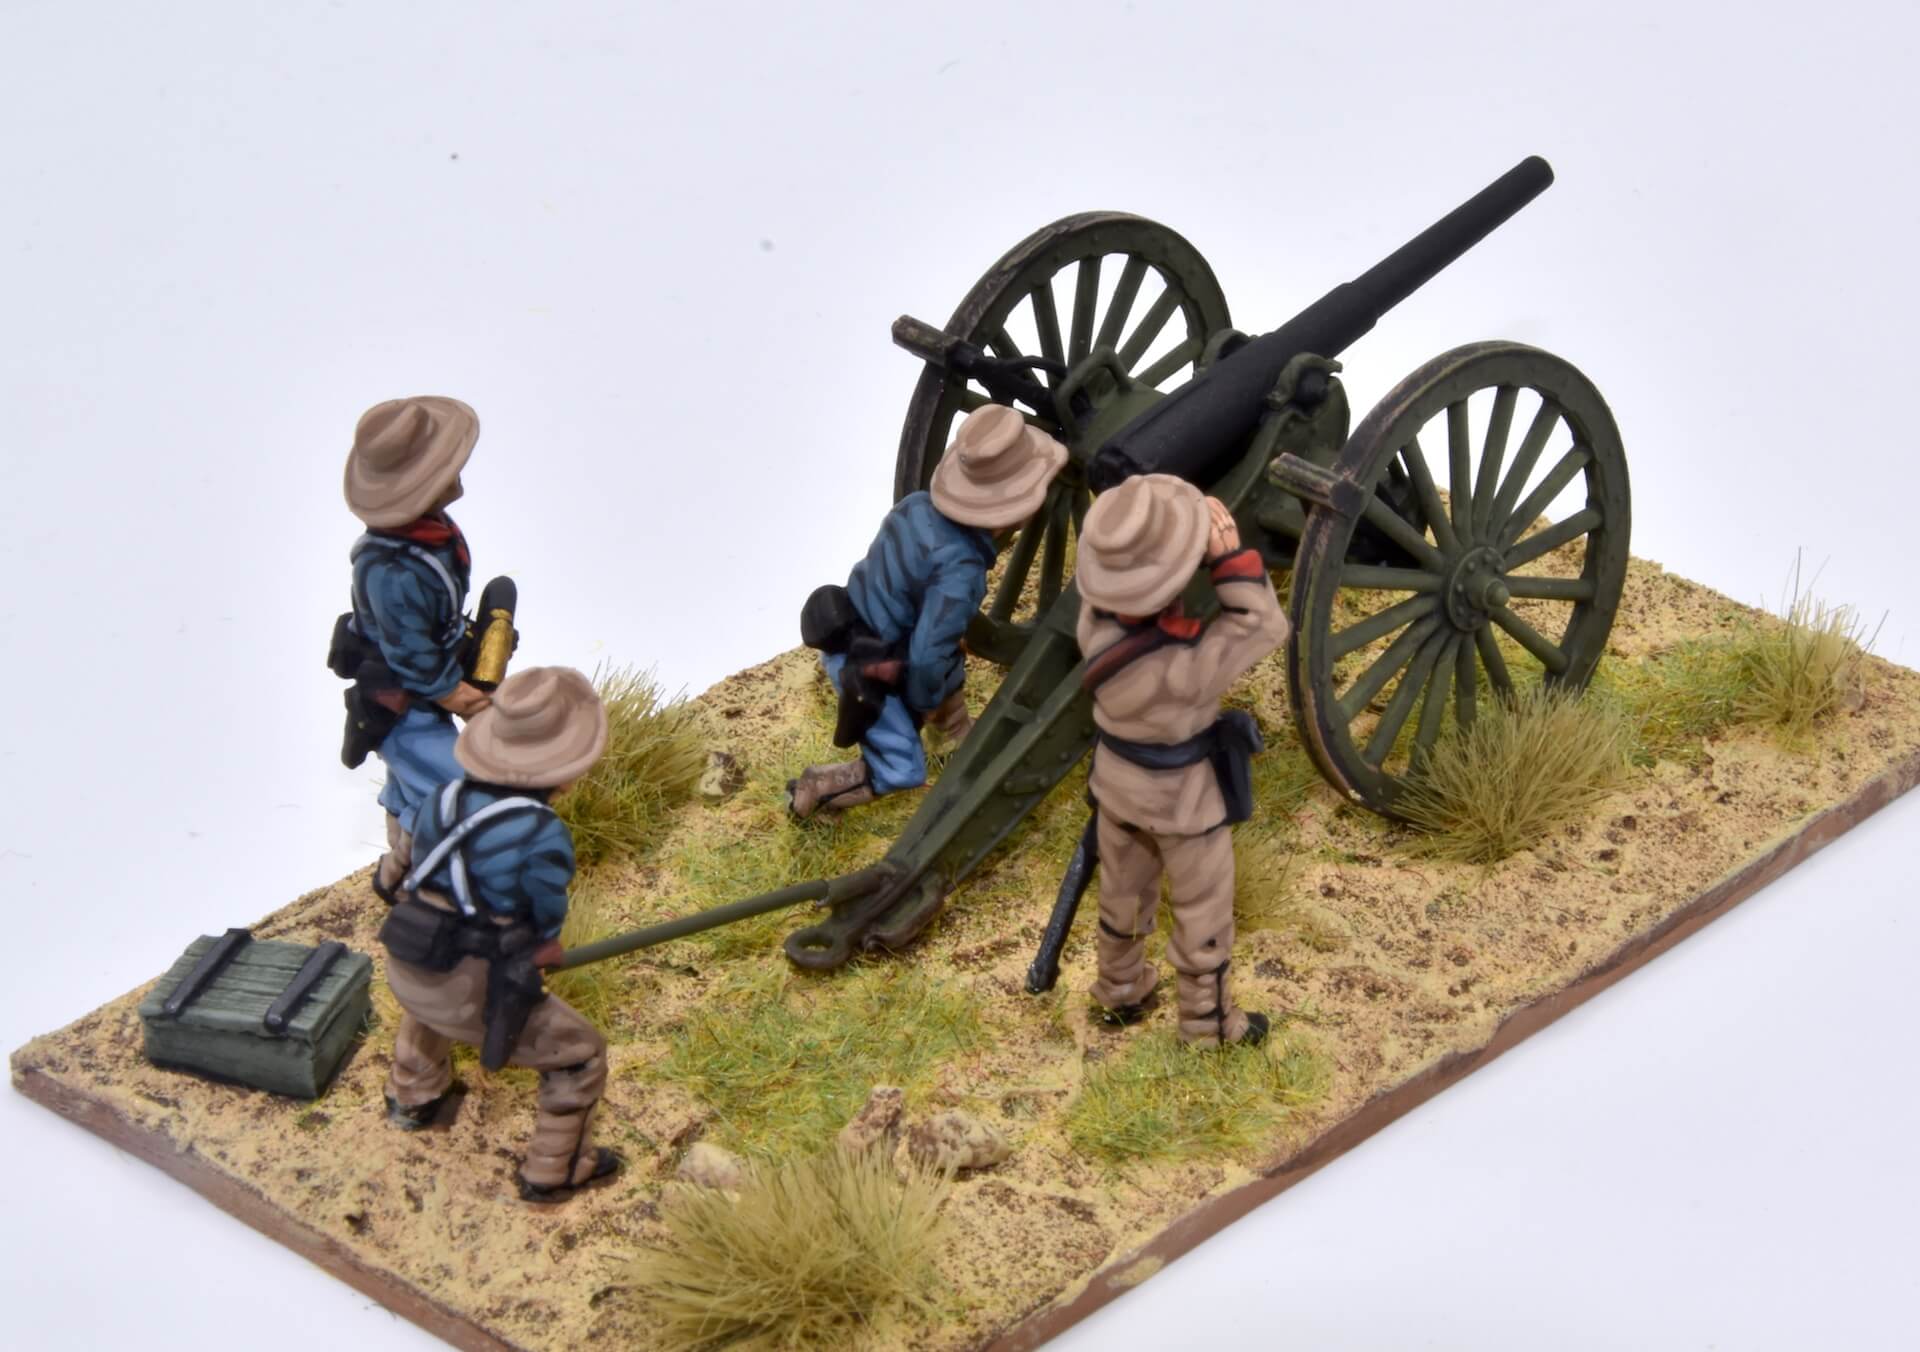
No army of the 19th century is complete without artillery and the American forces that fought the wars of Cuba (1898) and the Philippines (1898-1902) could not be less. In fact, while the Krag-Jorgensen rifle of the American infantry (and let’s not say the obsolete black powder Springfield with which some units were still armed) was seen in frank technological inferiority against the Spanish Mauser, in artillery terms they were in clear quantitative (though not qualitative) advantage, that will be decisive in the contested battles of El Caney and San Juan Hill. And the quintessential American piece of the period will be the breechloading M1897 3.2-inch field gun with metal gun carriage.
Materials
For this tutorial we will need a good model blade, a file, an old toothbrush and cyanoacrylate glue. Likewise, we will use Vallejo Model Color paints (three-digit numerical references, eg 863, for other brands’ options, consult this color chart) as well as any brand’s priming spray (although I always recommend Citadel’s).
Assembly
The gun has two positions, with the brakes raised, when it is in motion, and with the brakes down, when going to fire. At the time of gluing the brakes, we have two options depending on the position: if they are raised, it is better to glue them before the wheels, since they are only supported by a single point of union (on the gun carriage, not on the wheel) and if we glue before the wheel we can have some trouble. On the other hand, if we want to put the brakes down, it makes more sense to do it with the wheels already attached, since the brake piece must support both the gun carriage and the wheel itself (see photo 6 and 6b). On where to stick them on the carriage, a small circle indicates it in the piece itself, as can be seen in photo 2b.
Next we glue the wheels. If the brakes are raised, we should not have special difficulty in introducing the piece. Remember that in this position, the brake must not touch the wheel. And if we want the brakes lowered, as we discussed earlier, better first strike the wheel and then the brake.
Painting
Before starting to paint, we will glue the assembled piece to a support that allows us to manipulate it without having to touch it with our fingers, like this empty bottle of varnish. For this we will use cyanoacrylate, a glue strong enough but that will allow us to remove it easily once painted. Once in our support, we will prime the piece with white or black primer spray, according to our personal taste (for this case, I have preferred white, but it is not that important). And then, we will paint the base colors: the gun carriage and the wheels with a mixture of Russian Uniform WWII (924) at 90% and Uniform Green (922) at 10%. The barrel, the brakes and the upper reinforcement of the wheels will be painted with Gunmetal Grey (863) plus Black (950) to 50% of each approximately, bearing in mind that the finish must be very dark, almost black.
When I paint cannons with wooden gun carriages, I usually use the dry brush technique to represent the roughness and grain of it, but in this case it did not make much sense given that the gun carriage is metallic and therefore lacks such rugosity. Therefore, I opted simply to apply to the whole piece (including the barrel and the brakes) a wash of Chocolate Brown (872) with a pinch of Black (950), very diluted in water. This wash will fulfill several functions: to give volume to the piece, to create sensation of accumulation of dirt and to reduce the metallic shine that could have the barrel, without making it seems that it is totally black. We let it dry.
For the terrain, I always use textured paste from Vallejo, normally Desert Sand (26.217). Usually I glue the figures first to the base, then I cover the whole of it with paste and finally I place the cannon in its place, which remain stuck with the paste itself. However, in this case in which the different parts have to fit very well (especially the gunner of the lever), we will reverse the order. First we will put paste only in the area where the cannon should rest and fix it to the base, and then, while the paste is still fresh, we will glue the figures to the base. Once the paste and the glue are dry, we will finish covering the rest of the base with paste, and decorate it with small rocks. When it dries, we will paint it with a wash of Chocolate Brown (872) and successive dry brushes of Tan Yellow (912) or similar, and of Buff (976). Finally, we will decorate with vegetation.
The artillerymen
The US artillerymen of the 1898 Spanish-American War (and further against the Filipinos) wore the standard uniform of blue campaign overshirt and sky blue or brown trousers. Officers were likely to wear the khaki uniform with red facings. You can find useful painting techniques and colour charts in this painting tutorial for the Rough Riders.
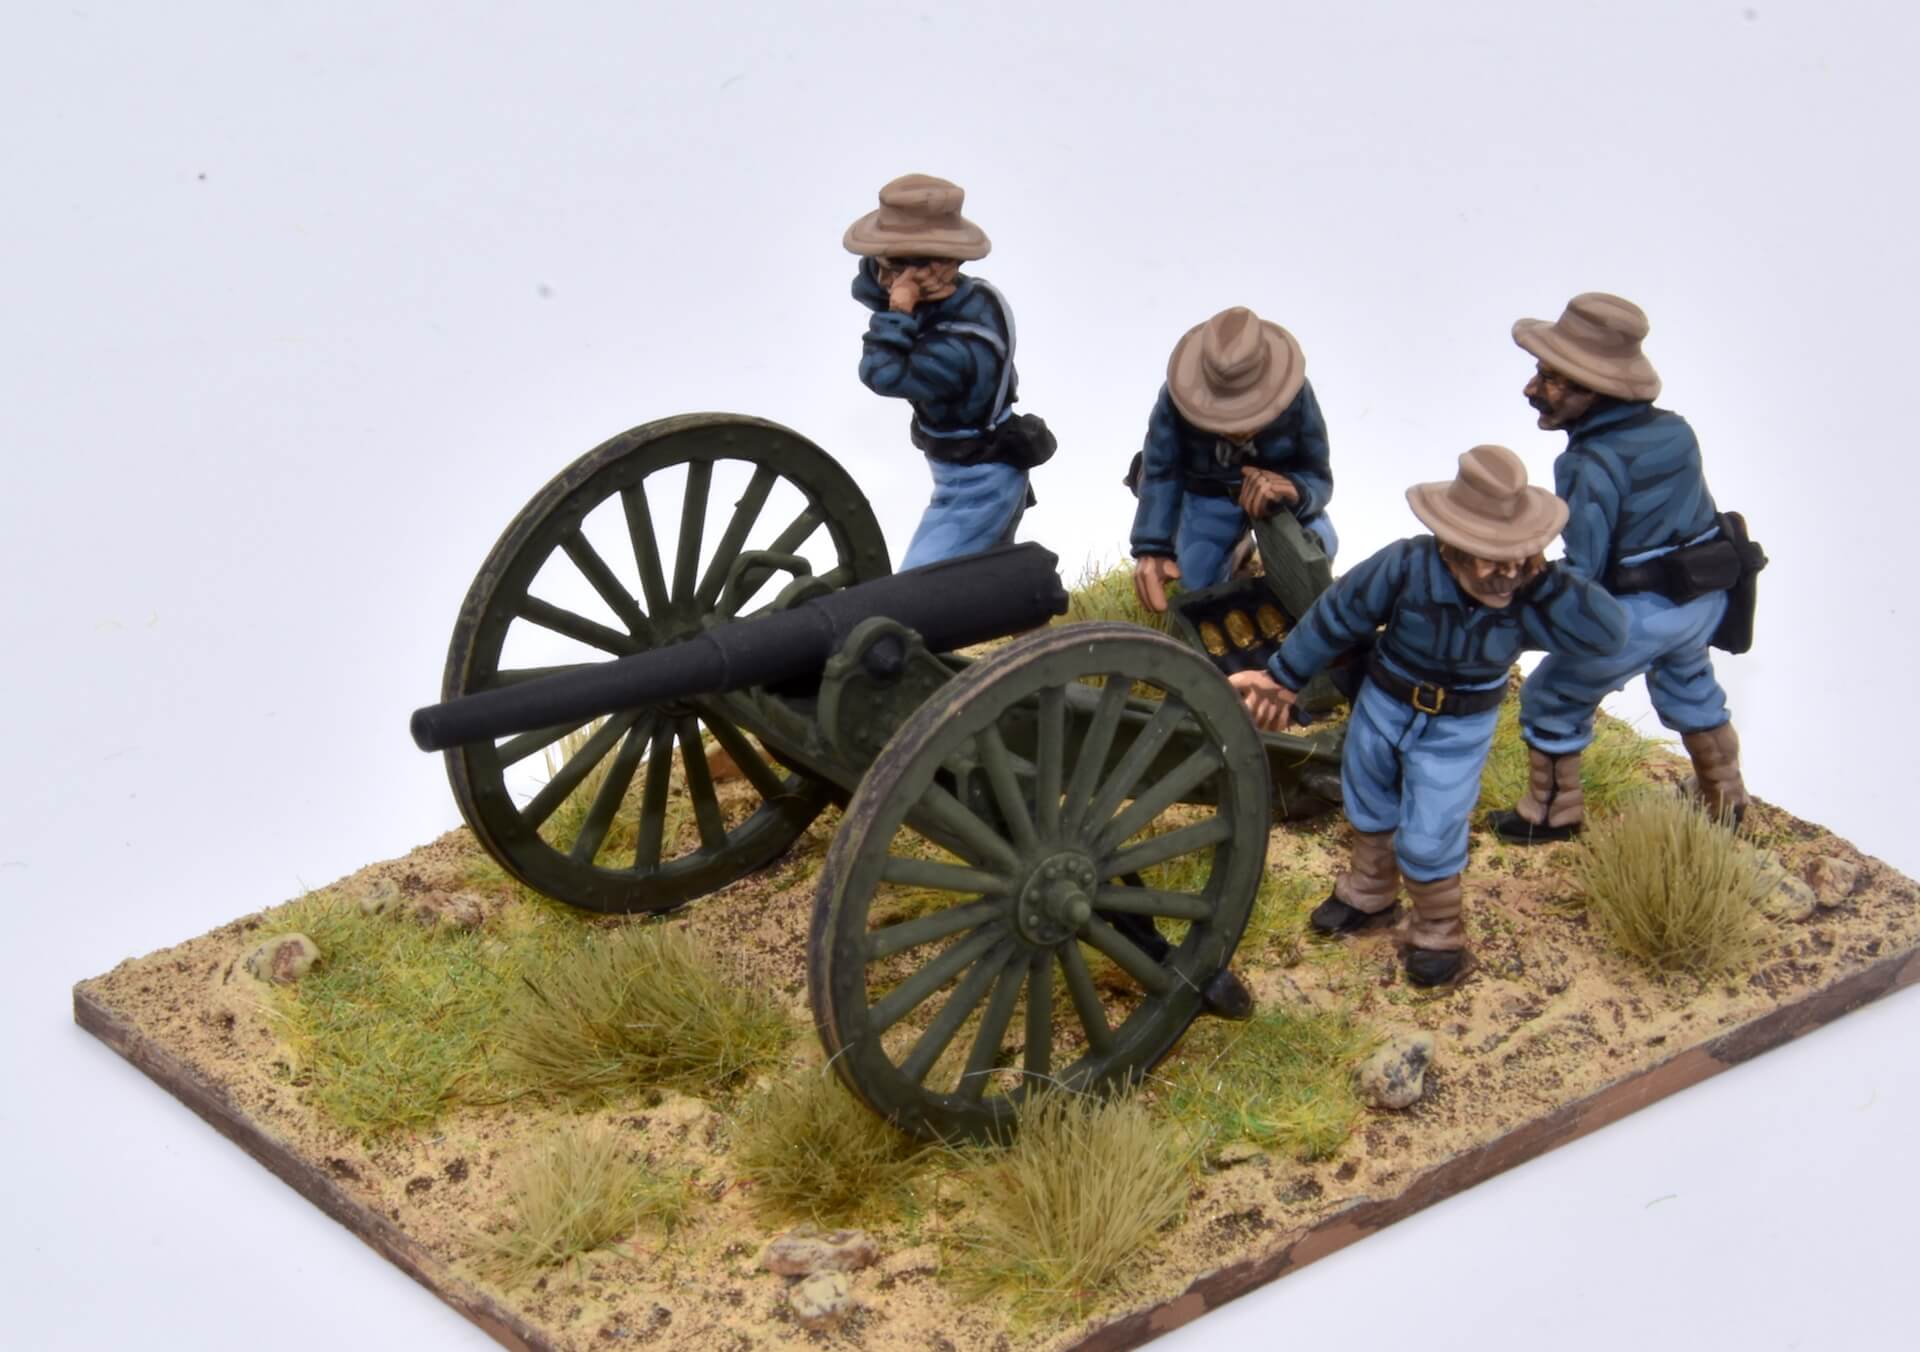
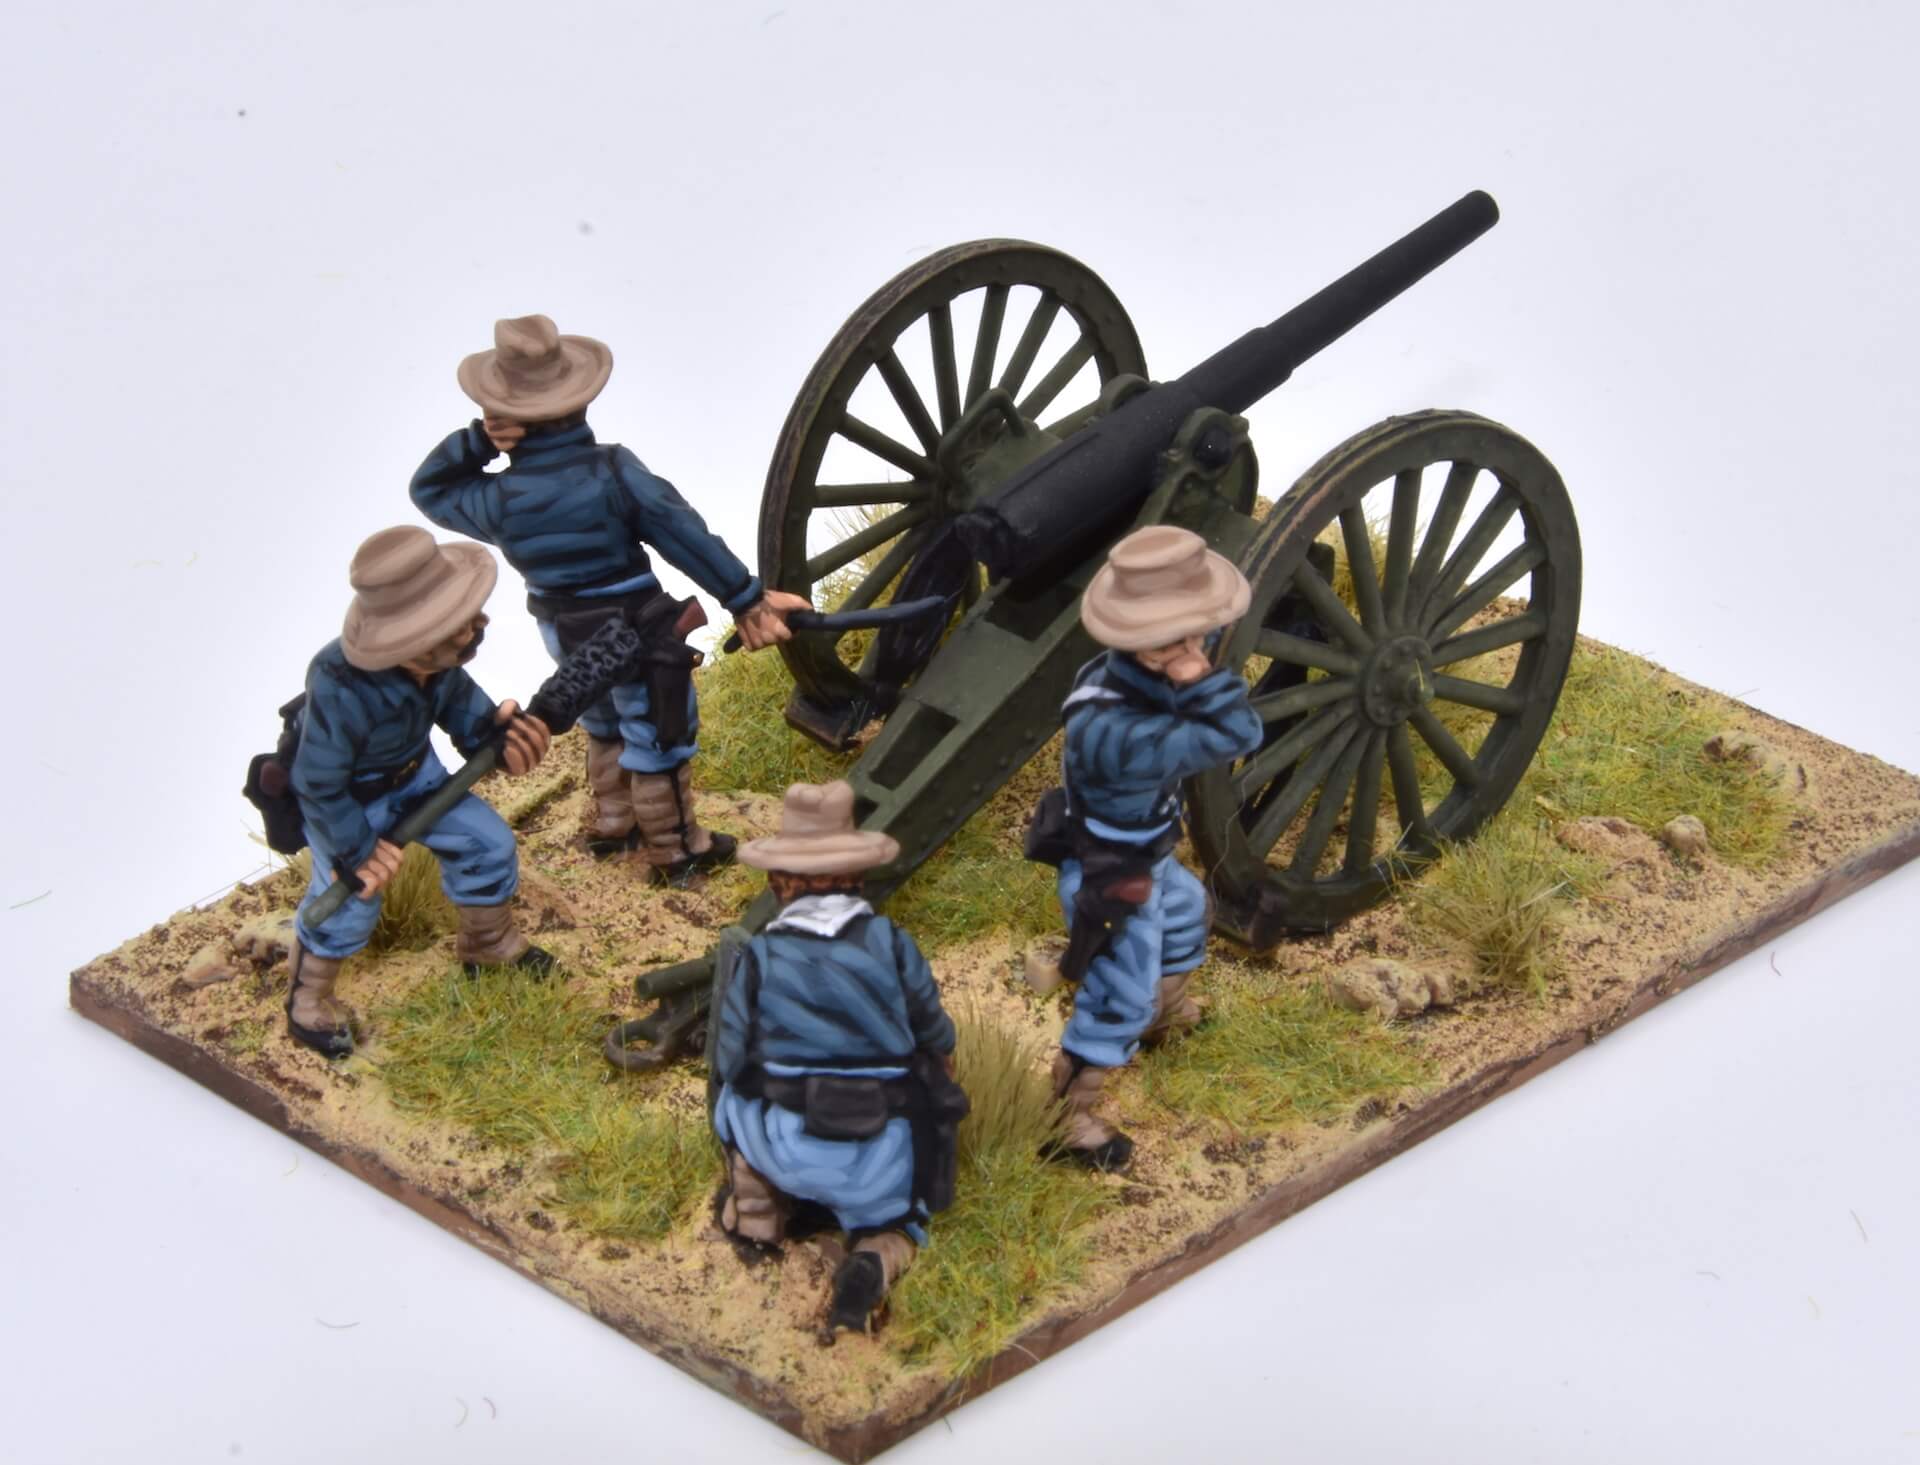
M1897 3.2-inch field gun firing
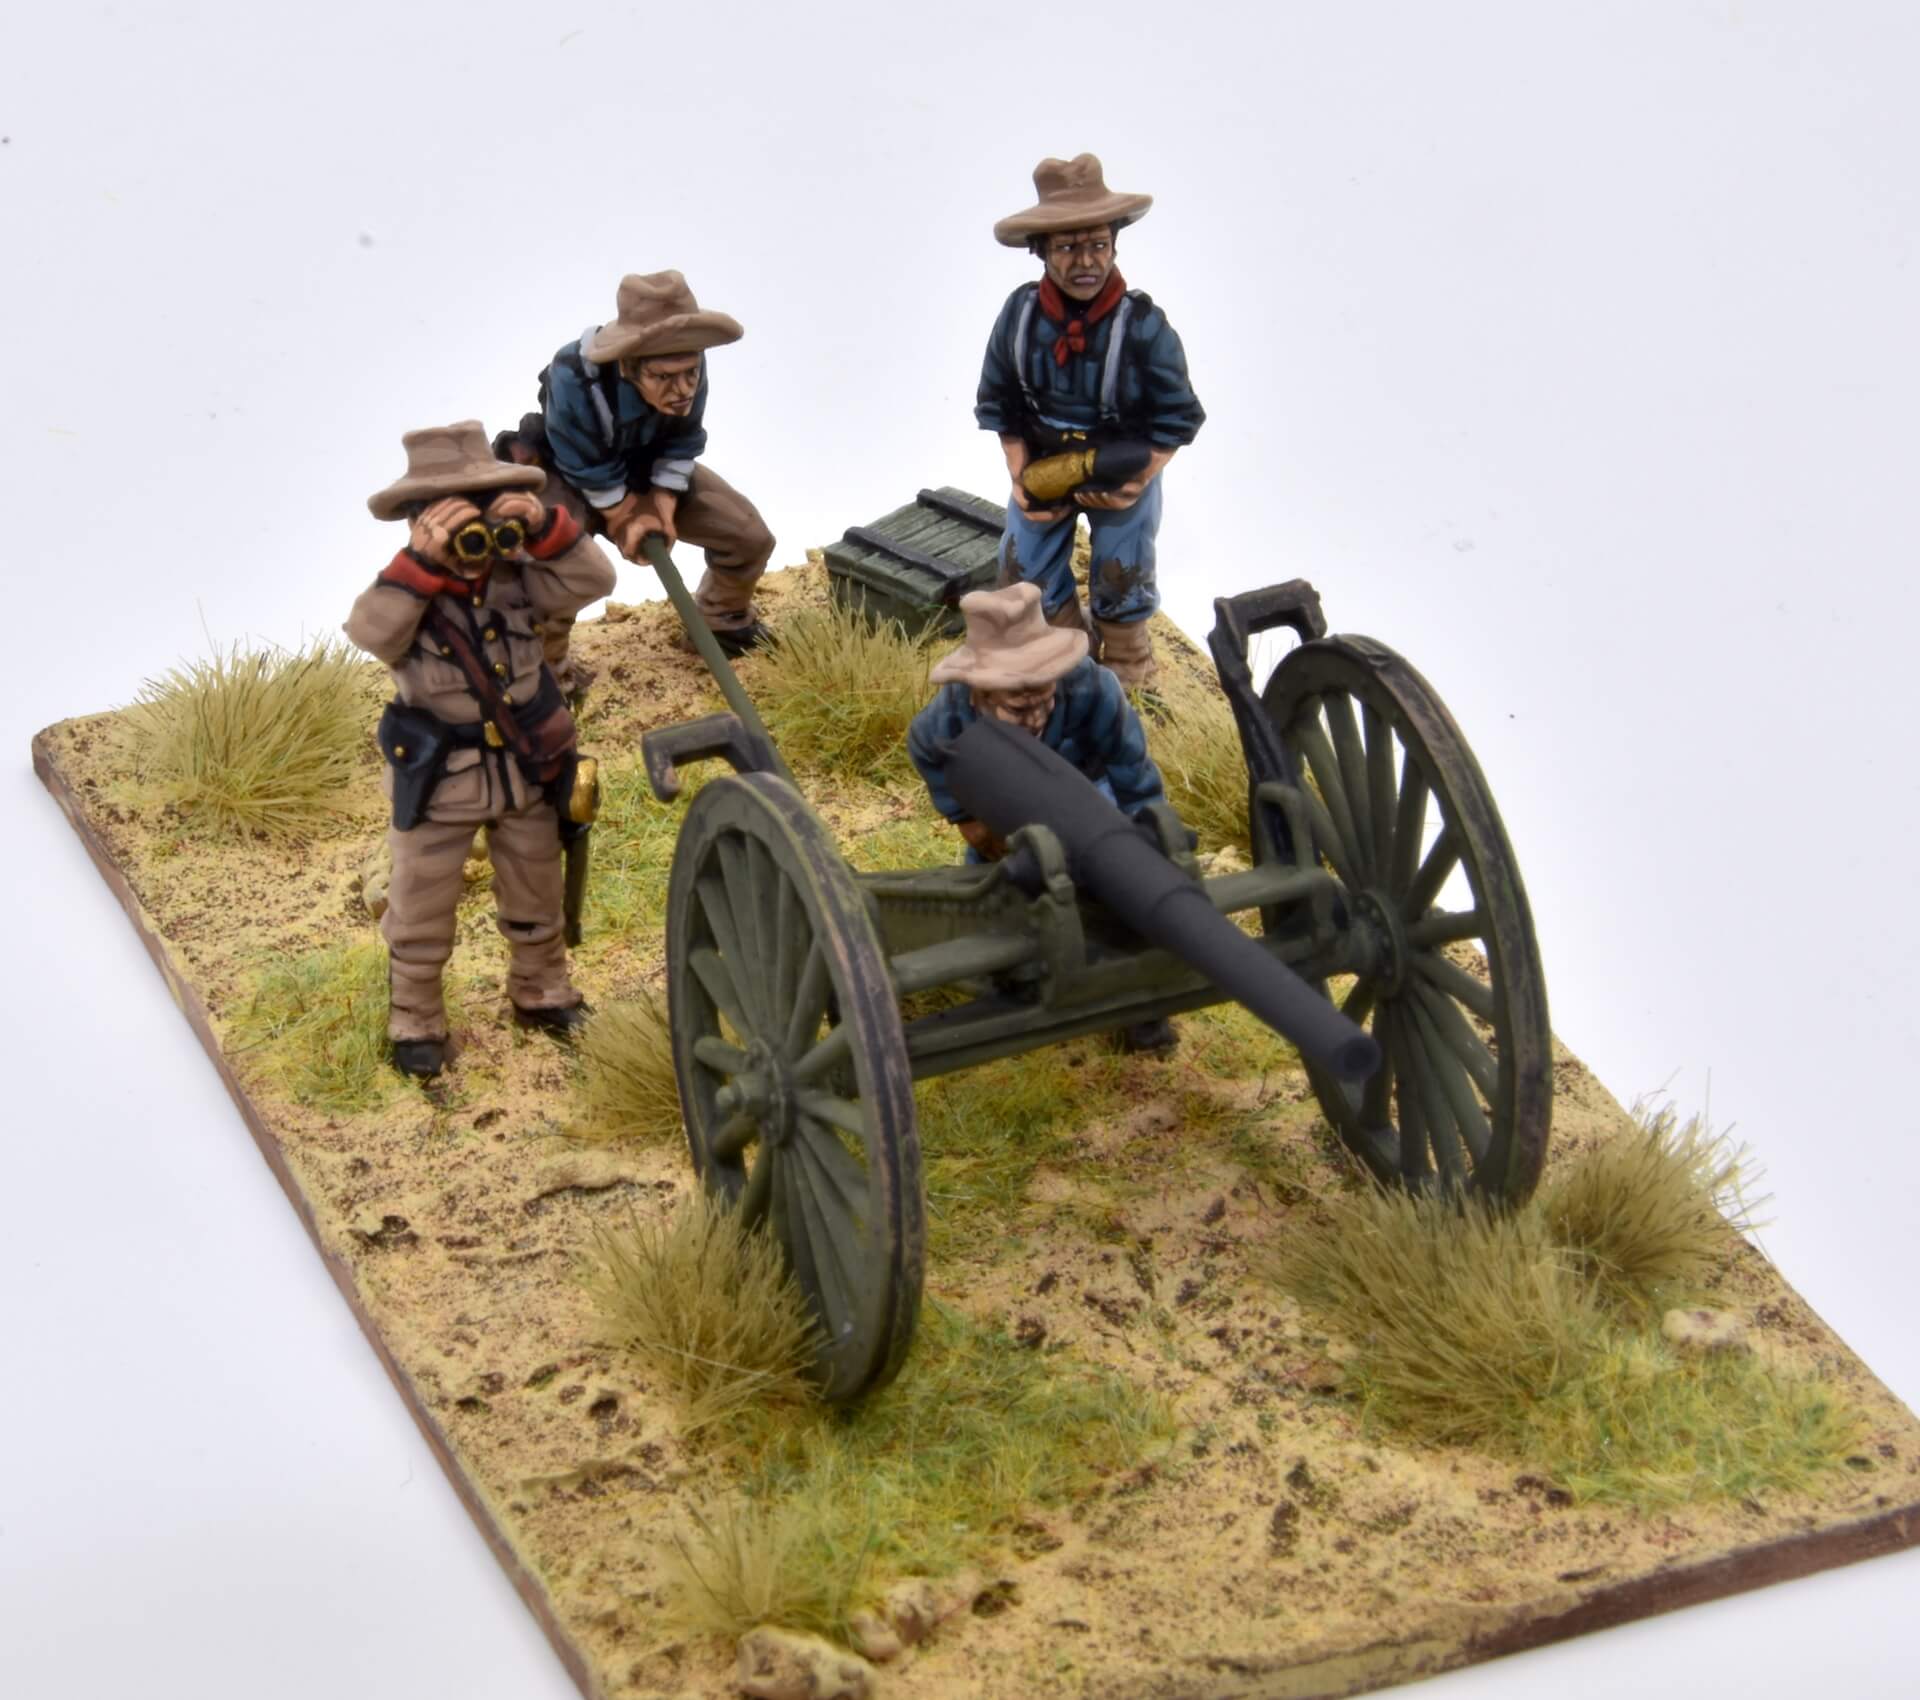
M1897 3.2-inch field gun aiming
Want more variety?
Although by now 1898 Miniatures only offers two different references of American guns (US10-firing and US11-aiming), if you want to make a powerful artillery force, you can get more variety by exchanging some of the gunners that are included in both packs. Specifically, as you can see in the pics below the figures with the sponge staff and with the ammunition box from the US10-firing can be exchanged by the officer and the gunner who carries a shell from US11-aiming, thus achieving up to four guns with different crews.


